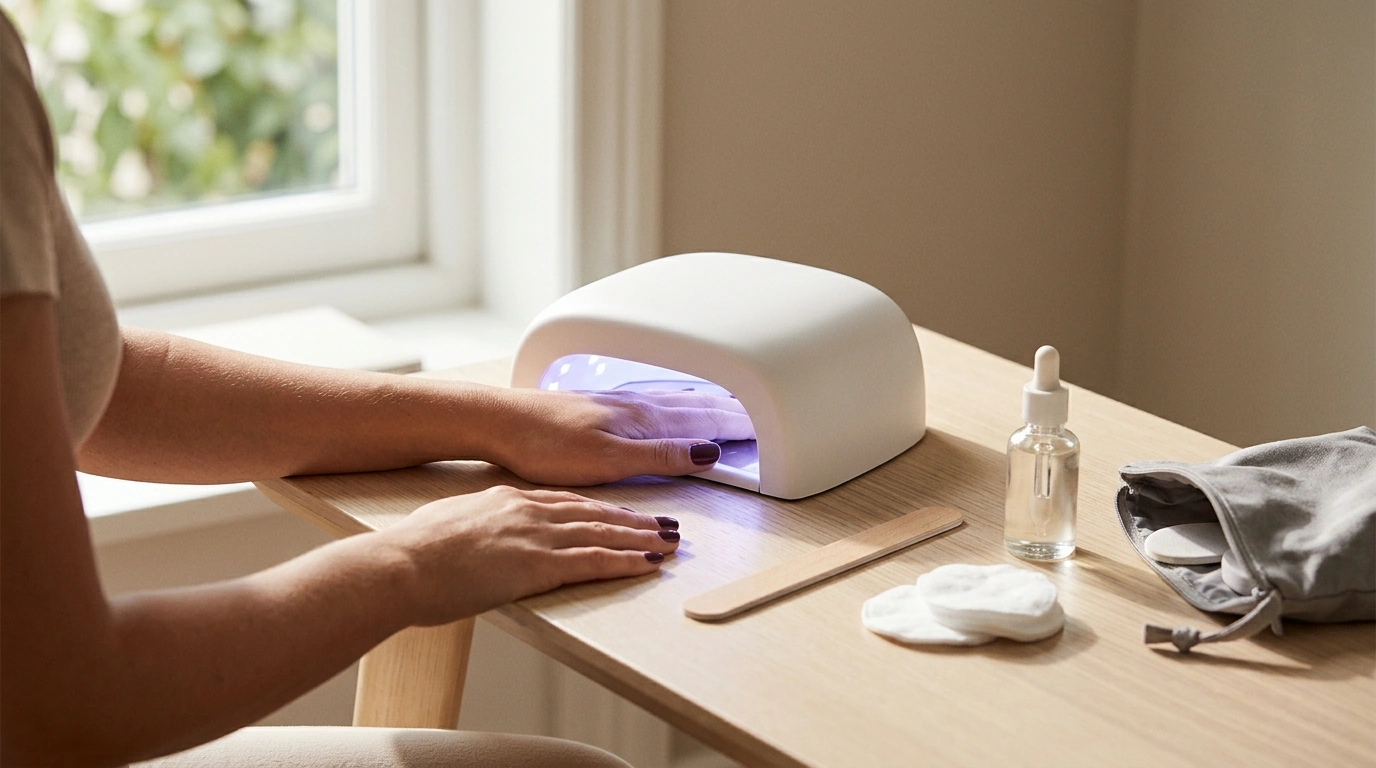
A rechargeable nail lamp makes gel manicures more flexible by removing the need to stay near an outlet. Whether you’re doing your nails at a small desk, setting up on the couch, or packing for a weekend trip, cord-free curing helps keep your routine simple and portable. Below is a practical guide to how rechargeable lamps work, which features matter most, how to cure for longer wear, and how to troubleshoot common issues—plus a quick look at an in-stock cordless option.
A rechargeable nail lamp cures gel polish by emitting light in the UV/LED range that hardens each gel layer. The main advantage is freedom of placement: you can cure at any comfortable station without managing cords or hunting for a nearby outlet.
Cord-free use is especially helpful in small spaces where clutter adds up quickly. A rechargeable lamp is also easier to store—no tangled cable—and many models include timed curing cycles that support consistent results. That consistency matters because under-curing can lead to early chipping and lifting, while over-curing can cause unnecessary heat spikes or brittleness with certain products.
Rechargeable doesn’t automatically mean convenient—details like battery clarity, timer options, and hand fit can make or break the experience. Focus on these essentials when comparing lamps:
| What to compare | Why it matters | What to look for |
|---|---|---|
| Battery/runtime | Determines how many sets can be cured before recharging | Stated runtime and real-use reviews; predictable performance over time |
| Charging method | Affects convenience and travel readiness | USB-compatible options; clear indicator lights |
| Timer presets | Improves consistency across layers | Multiple presets (for example, short/standard/long) and an easy start/stop |
| Lamp opening & fit | Reduces bumping and uneven curing | Comfortable hand placement; room for thumb positioning |
| Comfort modes | Helps manage heat spikes with some gels | Low-heat / gradual ramp option if available |
| Build & cleaning | Durability and hygiene | Sturdy housing; wipeable surfaces |
Also confirm curing compatibility. Some gel systems specify LED-only or UV-only curing. If you’re mixing brands, do a test nail before committing to a full set—especially for builder gels or highly pigmented colors, which often need extra attention to thin layers and proper timing.
A solid lamp helps, but long-lasting gel is mostly about technique. A few small adjustments can noticeably improve wear time:
For general guidance on UV exposure risks, the U.S. Food & Drug Administration (FDA) information on sunlamps and UV exposure is a helpful reference point.
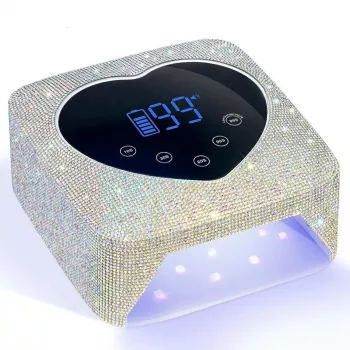
If a cordless station is the goal, a simple way to start is with an in-stock option made for portable curing: Rechargeable Nail Lamp. It’s a practical pick for at-home gel sets, travel kits, or any setup where you’d rather not build your routine around outlet access.
| Item | Details |
|---|---|
| Name | Rechargeable Nail Lamp |
| Price | $52.67 USD |
| Stock status | In stock |
| Product page | https://groovy.sale/rechargeable-nail-lamp/ |
To round out a compact self-care setup (especially when you’re traveling and your hands feel puffy or tired), the Ice Roller for Face & Eyes – Skin Tightening Facial Massage Tool is another small, easy-to-pack item that pairs well with a minimalist routine.
Not always. Compatibility depends on the gel formula and the lamp’s light spectrum, so it’s best to check the gel brand’s curing guidance and do a test nail when switching systems.
Follow the gel manufacturer’s recommended cure times whenever they’re provided. Thin coats and correct hand placement matter as much as timer length, and some top coats require wiping the tacky layer after curing.
Risk can be reduced by minimizing exposure time, using broad-spectrum sunscreen on the backs of hands (avoiding nails) or UV-protective gloves, and not looking directly into the light. Stop use if irritation occurs and seek professional guidance for ongoing sensitivity.










Leave a comment