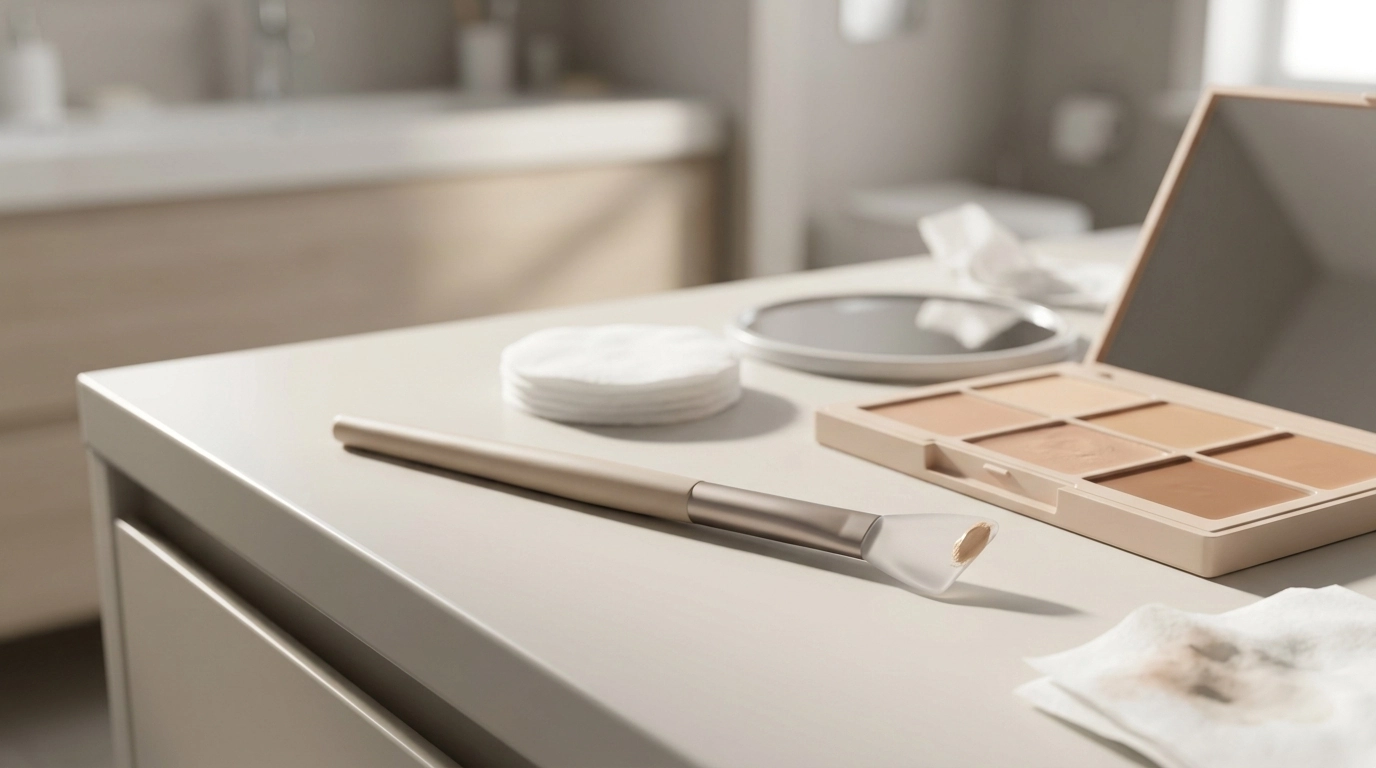
A silicone angled concealer and lip brush is built for precision and easy cleanup. The flexible silicone tip helps place product exactly where it’s needed—around the nose, under eyes, and along the lip line—while the angled shape makes sharp edges and even blending simpler. This guide breaks down what makes this brush style different, how to use it for concealer and lips, which formulas it performs best with, and how to keep it hygienic. For more guidance, see 10 Beauty Tools We Need at 50 — and One We Don’t.
Compared with traditional bristles, a silicone angled tip behaves more like a smooth “spatula” than a fluffy blender. That difference can be a major advantage when the goal is neat placement, crisp edges, and less product waste. For further reading, see The History of Lipstick Regulation in Western Seats of Power.
| Feature | Silicone angled tip | Traditional bristles |
|---|---|---|
| Product absorption | Low absorption; more product stays available for application | Can absorb some product, especially with thicker creams |
| Best for | Creamy concealer, lip color, precise edge work | Powders, diffused blending, softer gradients |
| Cleanup | Typically wipes clean quickly; fewer stained fibers | May need deeper washing to remove trapped product |
| Finish style | Controlled placement; smoothing and pressing motions | Airier diffusion; feathered blending |
The biggest payoff comes from using a silicone angled brush like a precision tool: place first, then soften only where needed.
If under-eye puffiness makes concealer gather or crease, quick cooling can help the area look smoother before makeup. Pairing a brief de-puff step with a precise applicator often reduces how much product you need.
For lip products, the angled edge shines when you want a crisp border without over-lining or smudging.
When switching from concealer to lipstick, wipe the silicone tip thoroughly to avoid muddy tones—especially when moving from a skin-tone product to a red, berry, or deep brown.
If a neat under-eye edge, a crisp cupid’s bow, and easy cleanup are priorities, the Silicone Angled Concealer & Lip Brush is designed to do the detail work without soaking up your cream products.
| Item | Details |
|---|---|
| Product | Silicone Angled Concealer & Lip Brush |
| Price | $2.01 USD |
| Availability | In stock |
Silicone excels at placing and smoothing cream products with controlled pressure, which is ideal for precise coverage and clean edges. For a very diffused, airbrushed finish, a soft bristle brush or sponge may blend more seamlessly; many people use silicone for placement and a sponge/brush for final softening.
Wash with mild soap or a gentle cleanser and lukewarm water, rinse thoroughly, and dry completely before storing. Wipe between shades, avoid harsh solvents or excessive heat, and discard the tool if it develops cracks or residue that won’t come off.
Yes, as long as it’s wiped or cleansed between steps to prevent color transfer and reduce bacteria buildup. This is especially important when switching between skin-tone concealer and bold lip shades.










Leave a comment