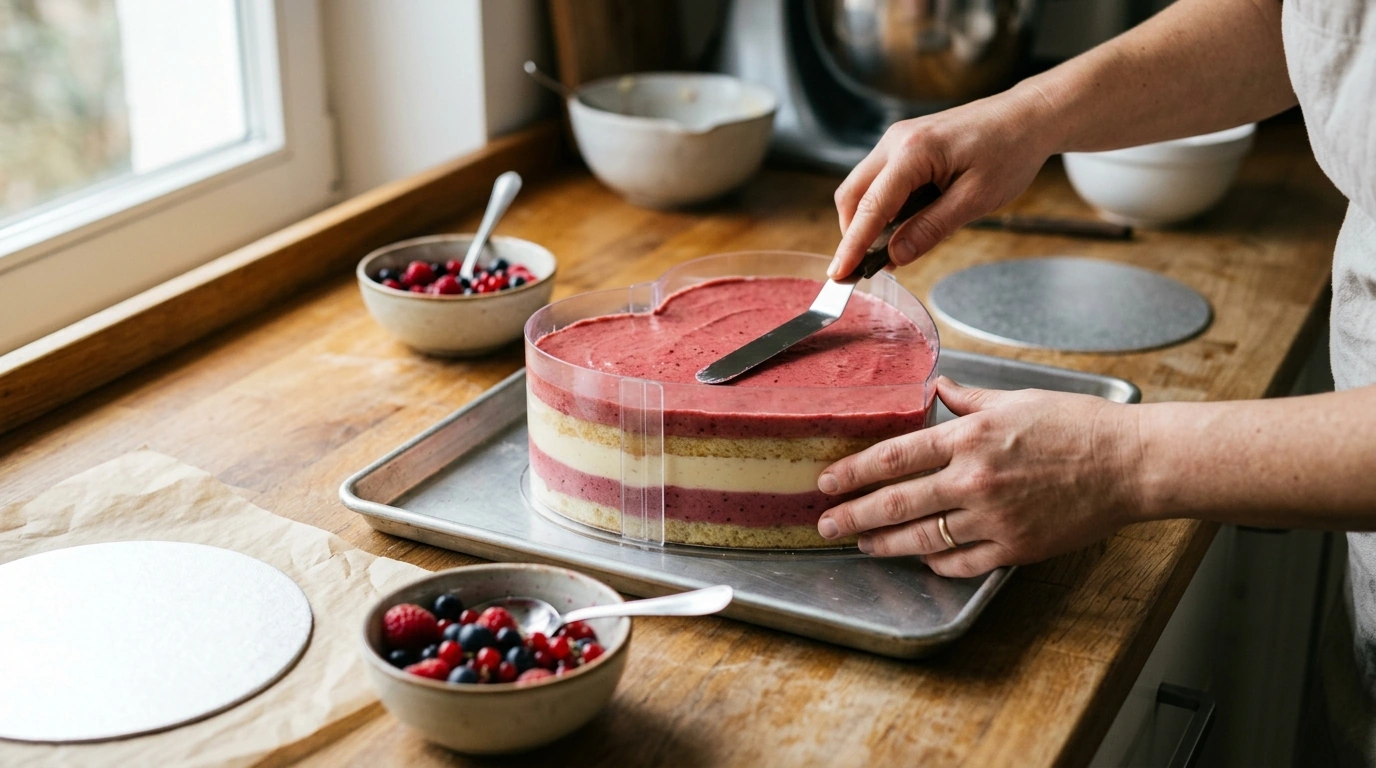
A heart-shaped dessert looks simple until the edges slump, the layers shift, or the glaze leaks. An adjustable heart cake ring helps set clean lines, supports soft fillings, and adapts to different sizes—ideal for mousse cakes, layered sponge, ice cream cakes, and no-bake desserts. Instead of relying on a single fixed pan, a retractable ring lets you build, chill, and finish with more control, especially when precision matters for gifting and celebrations.
An adjustable heart ring is a structure-first tool: it creates the silhouette and holds it steady while your dessert sets. That makes it especially useful for cakes that are assembled cold, or anything with a creamy filling that wants to bulge outward.
Not every ring behaves the same once you start filling it. A few details make a big difference when you’re pouring mousse, pressing cookie crumbs, or stacking sponge layers.
| Dessert type | Best setup | Why it helps |
|---|---|---|
| Mousse cake | Line with acetate; chill to set | Clean sides and sharp heart outline |
| Layer cake (sponge + cream) | Build on cake board; chill between layers | Reduces bulging and sliding layers |
| No-bake cheesecake | Line with acetate; long chill | Prevents edge cracking on release |
| Ice cream cake | Freeze-safe lining; quick unmold | Keeps shape during freeze and slice |
| Cookie or brownie slab cutout | Press/cut after cooling | Uniform heart portions for decorating |
Sharp edges come from planning the build and giving the dessert enough time to set—more than forcing it out of the mold. A ring makes that process predictable.
Different desserts demand different timing. The ring is the framework; temperature is the tool that locks the shape in place.
For safe storage and holding times once your dessert is finished, refer to the USDA FoodKeeper guidance and general handling principles in the FDA Food Code.
Acrylic tools stay clearer and smoother with gentle care, which helps unmolding stay easy over time.
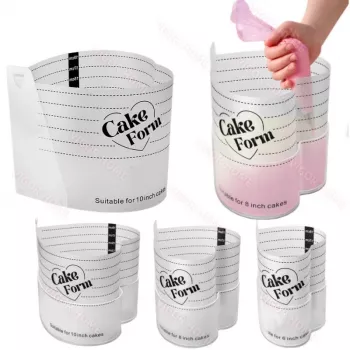
If you want a dedicated shaping tool for heart desserts, the Adjustable Heart Shaped Cake Ring Mold – Retractable Acrylic Baking Tool is designed for tidy edges and repeatable results across multiple sizes.
For kitchen prep that supports dessert-making days—warming components, toasting crumbs, or handling stovetop tasks—consider the Reversible Pre-Seasoned Cast Iron Griddle with Non-Stick Surface for BBQ and Cooking as a versatile companion tool.
Yes—many bakers use adjustable rings primarily for setting and assembly (mousse, cheesecake, ice cream, layered builds). Oven use depends on the material’s heat tolerance; if you’re unsure, bake layers separately and shape/stack inside the ring while cooling or chilling.
Set the ring on a perfectly level tray and line the inside with acetate, making sure the seam overlaps. For very fluid mixtures, chill a thin base layer first to “seal” the bottom edge before adding the remaining filling.
Chill until fully set, then warm the outside briefly and lift the ring straight up. Peel the acetate away slowly; for frozen desserts, unmold quickly and return the cake to the freezer to keep the edges sharp.










Leave a comment