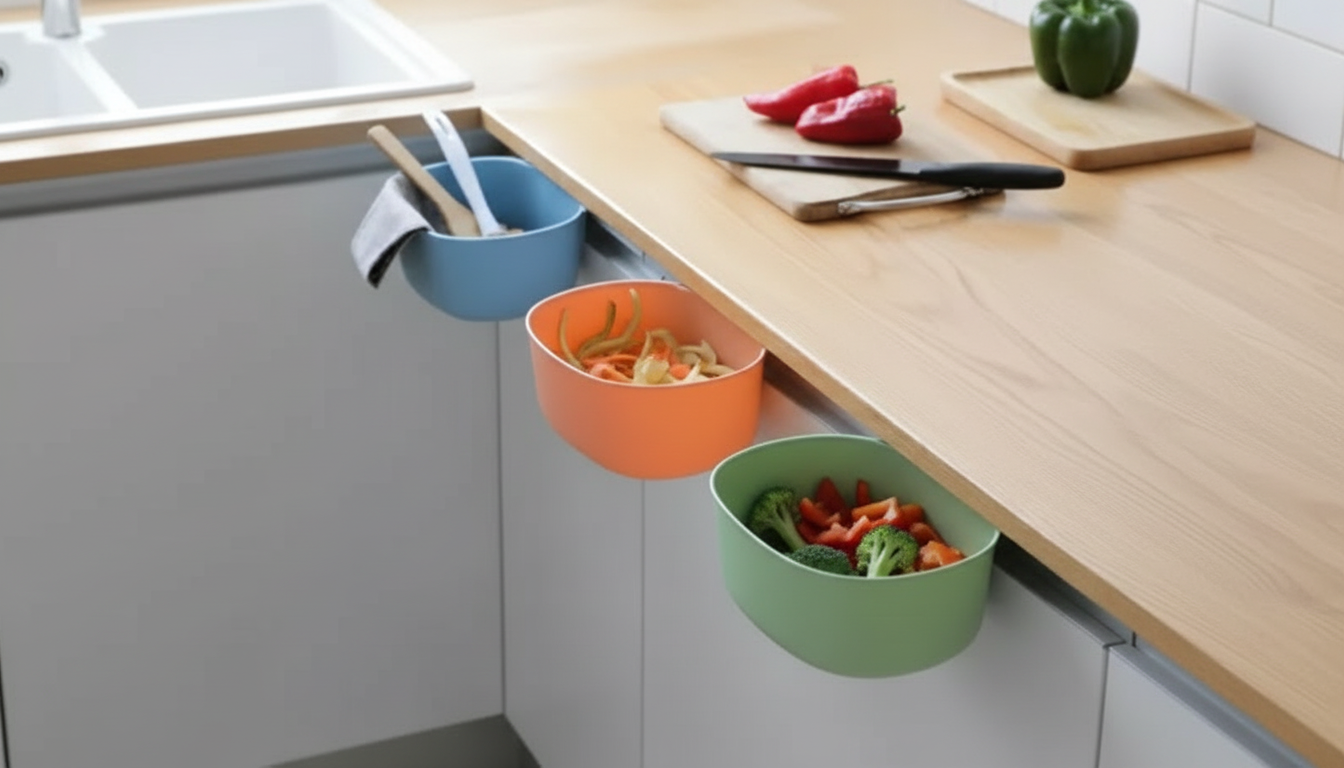
A hanging kitchen waste bin keeps food scraps and packaging within easy reach without taking up floor space. Designed to mount on a cabinet door or drawer front, it helps streamline prep and cleanup, especially in compact kitchens where every inch of counter and floor area matters. If you want a simple way to keep mess contained while you chop, peel, and cook, the Hanging Kitchen Waste Bin – Space-Saving Plastic Trash Container is an easy upgrade that fits right into a busy routine.
When scraps have a “home” right where prep happens, it’s easier to keep your workspace clear. That also means fewer smears and drips on cabinet faces and floors, since you’re not walking across the kitchen with wet peels or messy packaging.
A good rule: mount it where you naturally pause during prep—usually between the cutting board and the sink—so scraps can be swept straight in without detours.
Plastic can be an advantage for a hanging bin: it’s lightweight on cabinet hardware and typically rinses clean quickly. For households that prep meat or fish, the ability to wash and dry thoroughly matters as much as the size.
Each setup has a place, but the “best” option usually comes down to how much counter space you can spare and how often you cook.
| Option | Best for | Main advantage | Potential drawback |
|---|---|---|---|
| Hanging cabinet-door bin | Small kitchens, frequent meal prep | No floor space used; fast access | Needs a compatible door/drawer surface |
| Countertop scrap container | Large counters, quick compost collection | Always within reach | Takes up prep space; needs frequent cleaning |
| Under-sink trash can | Minimal visual clutter | Hidden storage; larger capacity | Slower access; bending required |
| Freestanding pedal bin | Households needing larger volume | Hands-free opening | Consumes floor space |
For cooking-heavy days—batch chopping onions, trimming veggies, or prepping a big breakfast—having the bin mounted right where you work keeps the pace moving. Pair it with tools that already support efficient cooking, like a multi-purpose cook surface such as the Reversible Pre-Seasoned Cast Iron Griddle with Non-Stick Surface for BBQ and Cooking, and cleanup feels far less scattered.
If compost is part of your routine, the EPA’s guidance on composting at home is a solid reference for what to collect and how to keep it manageable. For everyday kitchen hygiene—especially when food residue is involved—the FDA’s overview of cleaning and sanitizing is a helpful reminder on keeping food-contact areas and nearby surfaces fresh.
Many do, but compatibility depends on door thickness, handle placement, and interior clearance. Measure your cabinet door and confirm the bin won’t interfere with shelves, hinges, or stored items when the door closes.
Yes—it’s great for short-term collection during meal prep. Empty it frequently, rinse as needed, and transfer scraps to a sealed compost container or outdoor bin to manage moisture and odors.
A quick rinse and wipe daily helps when you’re collecting wet scraps, with a weekly wash using warm soapy water. More than anything, frequent emptying is the biggest factor in preventing odor buildup.










Leave a comment