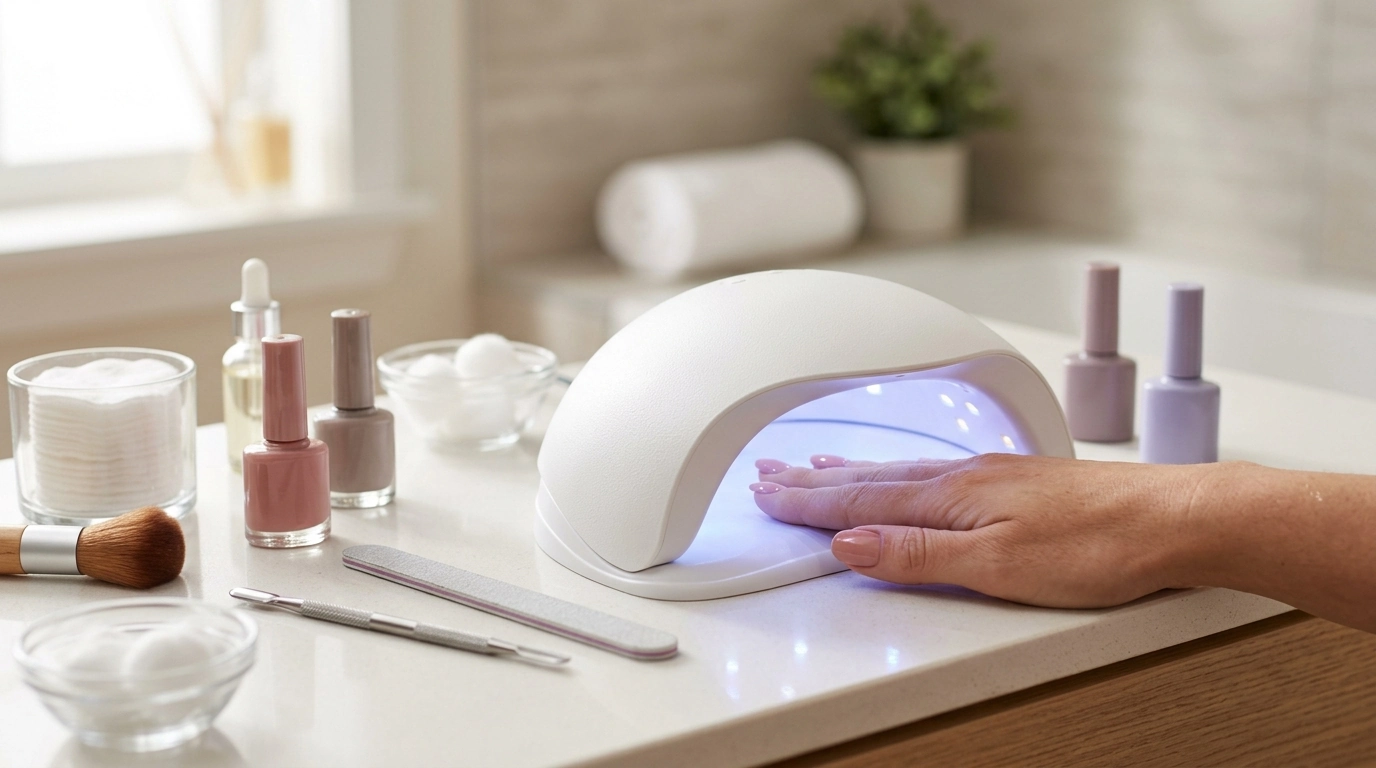
A reliable nail lamp can make gel manicures faster, smoother, and more consistent—without repeated touch-ups. This 72 LED UV/LED dryer combines high-output curing with a smart auto sensor and multiple timing options to support everything from quick top coats to thicker builder layers. For anyone building a home nail station, the goal is simple: predictable curing, fewer dents, and a finish that looks even across every nail. For more guidance, see UV-emitting nail polish dryers damage DNA and cause cell ….
Healthy nail habits still matter just as much as the lamp itself. For practical guidance on minimizing damage and keeping nails in good shape, see the American Academy of Dermatology Association gel manicure tips and general FDA consumer guidance on nail care products. For further reading, see Assessing the Health Implications of UV/LED Nail Lamp ….
Gel curing isn’t one-size-fits-all. Start with your gel brand’s instructions first, then use the lamp’s timer options to match what the product label recommends. As a general approach, thinner coats cure more reliably than thick coats, and thicker overlays often require longer cycles.
| Gel step | Typical layer thickness | Common cure range | Notes |
|---|---|---|---|
| Base coat | Thin | 30–60 sec | Follow the base coat label; ensure full coverage without pooling at cuticles. |
| Color coat (each layer) | Thin to medium | 30–60 sec | Two thin layers usually cure better than one thick layer. |
| Top coat | Medium | 60 sec | Longer time may help reduce dull spots from under-curing. |
| Builder/overlay | Medium to thick | 60–120 sec | Some systems require longer curing or multiple cycles—check brand instructions. |
Consistency comes from the combination of prep, product control, and hand positioning inside the lamp. Small adjustments—like keeping coats thinner or centering the hand—often make the biggest difference in preventing ripples, lifting, or uneven shine.
Powerful 72 LED UV LED Nail Dryer Lamp – Fast Drying & Smart Auto Sensor is available now for $24.51 (USD) and is currently in stock. It’s a practical upgrade for home gel routines when you want hands-free curing, flexible timing, and broad LED coverage.
If you like pairing a fresh manicure with quick, calming skincare, consider the Ice Roller for Face & Eyes – Skin Tightening Facial Massage Tool. It’s an easy grab for post-manicure relaxation—especially if you’re already setting up a small at-home self-care station.
Most modern gel polishes labeled “UV” or “UV/LED” cure under UV/LED lamps, but cure times vary by brand and formula. Always follow the gel manufacturer’s recommended lamp type and timing for the most reliable results.
Many gel systems leave a tacky inhibition layer that’s meant to be removed with cleanser after the final cure. If the layer feels soft or smears, it may be under-cured—use thinner coats and cure longer according to the gel brand’s directions.
It can trigger if something enters the sensor’s detection area. Keep the lamp opening clear and place it on a stable, clutter-free surface to reduce accidental activation.










Leave a comment